Tips and tricks!
Dear readers,
on this page you will find major steps and hurdles encountered in my IoT projects. Thanks to the global community out there, I have found valuable information to realize them. In return with an insight in "making-of", I will summarize here all encountered steps, traps, issues and will share tips&tricks for the solutions.
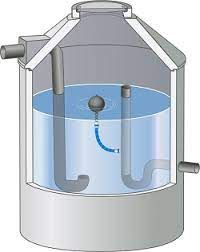
1. Level and volume measurement of a water cistern with Arduino Uno & ESP 8266 NodeMCU and JSN-SR04T sensor The content below includes learnings about the sensors being exposed to all day long humid environment. As well how to increase the WLAN signal using an external antenna. | ||
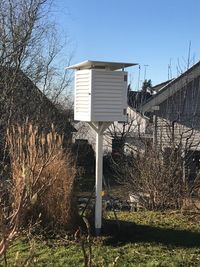
2. Weather station using Arduino ESP8266 NodeMCU E12 and BME280 sending data to Thingspeak™ cloud The content below includes learnings about the sensor BME280 being exposed to all day long humid environment and the issue of saturation found. | ||
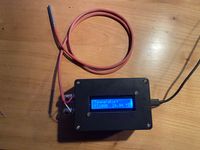
3. Measurement unit with temperature sensor PT1000 and ESP 8266 NodeMCU | ||
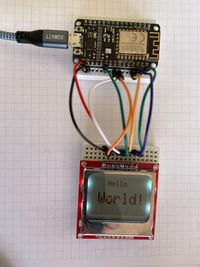
4. Interfacing a NOKIA 5110 display to an ESP8266 NodeMCU (incl. video of extended project) Beside the known OLED display, find here a simple solution for wiring and sketch for Nokia 5110 with an ESP8266 NodeMCU. | ||
5. Calling two "$getJSON ... url channel API commands" in sequentially in a highchart widget or reading data into a display from another unit Example: calling data, e.g., temperature from an external measurement unit in the garden and display the value in the internal second unit inside the house. | see details below on this page. |
5. Calling two "$getJSON ... url channel API commands" sequentially in a highchart widget
In one of the widgets, I have created a count-down display with the remaining time for new value updates. Basically I have modified an existing gauge from highcharts based on a speed gauge, that displays the speed value. As not needed, I have eliminated the gauge around, keeping the value only. In the widget I am calling the data of the Thingspeak cloud as follows (please adapt to your channel and API-read-key and fieldx to be the needed field number):
$.getJSON('https://api.thingspeak.com/channels/YOURCHANNEL_ID/fields/fieldx/last.json?api_key=YOUR_API_READKEY', function (data) {
In the beginning, I have generated in the related Arduino sketch of my water cistern new measurement values every fixed 120 seconds and then written to the cloud. During observation of the different rain fall intensities and subsequently reaction of the measurements, I found it quite helpful to change the cycle time to be shorter if rain is heavy and cistern fills fast or to be very long in times when water level is constant.
By having a flexible Cycle_time the challenge was then to adapt the $getJSON ... call to that flexible values which could be in my case 60, 120, 300 and 480 seconds and so being able to calculat the right remaining time until values are updated again.
How to achieve that two calls in one widget? Or how to call other data from a different unit into one display?
I got the hint for the solution in the community and used it (see example code):
https://stackoverflow.com/questions/20148239/use-multiple-urls-with-getjson
*** Example code within the widget to get the two data values (data & data2)
var point = chartSpeed.series[0].points[0]
point.update(parseFloat(Cycle_time - Current_time)); // mathematical operation
setInterval(function () {
// Implementation by calling the value for "field7" last and "last data.age"
$.getJSON('https://api.thingspeak.com/channels/my_channel_ID_no/fields/field7/last.json?api_key=my_API_READ_key', function (data) {
$.getJSON('https://api.thingspeak.com/channels/my_channel_ID_no/fields/field7/last_data_age.json?api_key=my_API_READ_key', function (data2) {
console.log(data)
console.log(data2)
Cycle_time = (data.field7); // take the value of field7 which can vary to be 60, 120, 300, 480
Current_time = (data2.last_data_age); // important data2
}); // end of function (chart)
});
}, 200); // update intervall ms
*** End of example code
Visitors:


